I've gotten some more time to work on my table and things are starting to look like something you could game on.
So far I've painted the first half in my base colour and a first highlight dry brush not only that, but I've made the second half also and painted that just as far.
On the second half I decided that I wanted some lager areas to place terrain on, something that could be a larger forest, house or perhaps just some walls. So I put some of my 6" squares right next to each other. I hope that this will work out in the end, and for the times when you don't want something large and imposing on the table, there is nothing stopping you from placing a empty square in one or more of the slots.
Here is the first stages of the second half

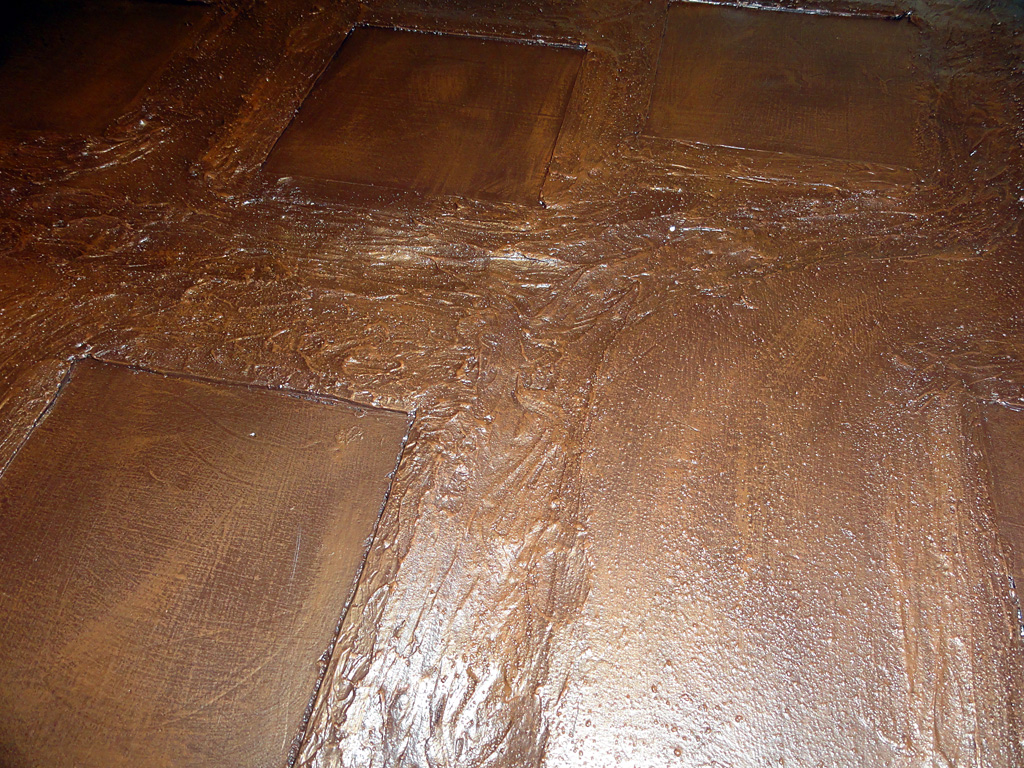
Here it is with some structured paint applied

Here it is with some structured paint applied
And with some of the base dark brown paint
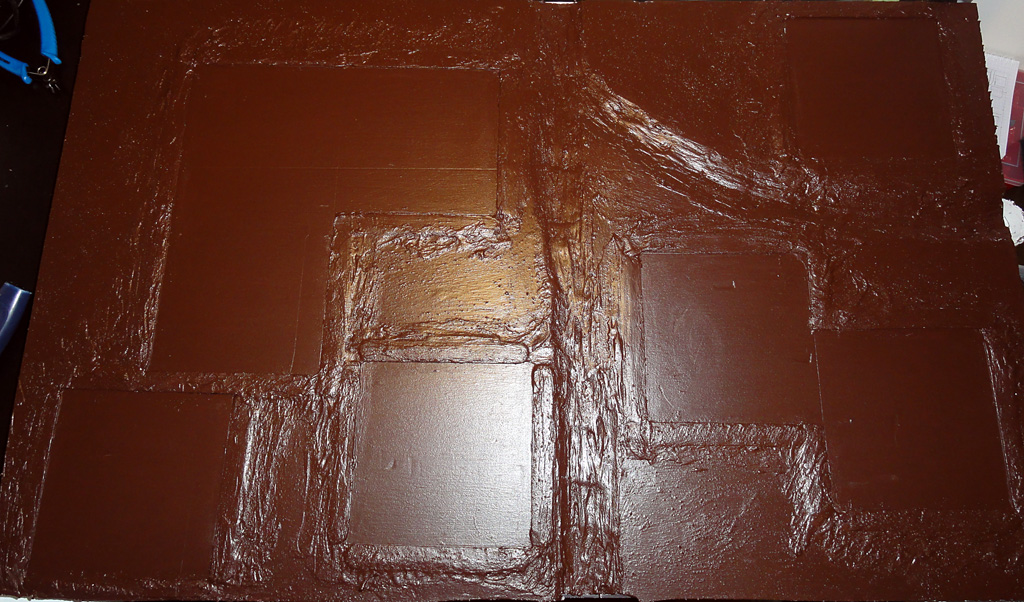
Here I've made the first drybrush
Here I've made the first drybrush

And when they are both put together.

The paints I've been using so far is inspired from another blog I follow Quindia Studios he did a paint approximation to some old Games Workshop paints that worked great together to create your basic dry earth kind of look. I can strongly suggest looking at some of his articles on building a table and also some of his amazing miniatures.
No comments:
Post a Comment